Source code control
Last updated on 2025-03-28 | Edit this page
Overview
Questions
- What are the key ideas of source control?
- What are the essential GIT commands we need to manage our simple code?
- How can git tags help to manage our code updates?
Objectives
- Put our code under version control with GIT
- Record our changes and edits in the GIT commit history
- Push our code to GitHub
Source code control with Git
Covering anything but the bare basics of Git here is not possible, but we need to know a few fundamentals:
- Git is a program that takes snapshots of all the files in a directory, and remembers every snapshot taken.
- These snapshots are known as commits, and a sequence of commits logged over time is known as a branch. In the simple case, we have a linear series of commits over time, so just one branch.
- You decide when to make a commit, providing a comment to summarize what you changed.
- Git can then show you a history of your commits, or show you exactly what changed (a diff) between two version.
All this happens on your local system, by saving special files into a
.git subdirectory, but you have the option to push
that information to a remote repository. The most popular such
service, and the one we will use today, is GitHub.
- GitHub is a free-to-use service owned by Microsoft.
- It allows anyone to view your code on-line, and pull it to another computer.
Git + GitHub
We’ll now commit our code to Git and push it to GitHub. You are going to need a GitHub account for this, so if you did not create one before the course do so now.
The figure below shows how the components connect. We’ll commit the code locally, then push to GitHub, then view the code in a browser.

Making the initial local Git commit
First, set some settings for Git. These will be saved into a file
.gitconfig in your home directory, and so will apply any
time you use Git within this account on this computer.
Note that the first two options require using a Git version
>= 2.37.0. Older versions will accept the config command
but it will have no effect.
BASH
$ git config --global init.defaultBranch main
$ git config --global push.autoSetupRemote true
$ git config --global user.email "you@example.com"
$ git config --global user.name "Your Name"
Now, tell Git that the directory containing your workflow is to be
treated as a Git local repository. This creates a new directory named
.git/ where all commits will be saved.
Make sure you run this in the directory where you have your
workflow, README.md, .tests,
etc.
And now make the first commit. This is a two step process, as we first select what files to save and then commit them with a message. We do not want to commit all the files, just a specific selection. In particular, avoid adding large data files into a Git snapshot.
The second command will bring up a text editor, probably nano unless you configured something else. You will see something like this:
# Please enter the commit message for your changes. Lines starting
# with '#' will be ignored, and an empty message aborts the commit.
#
# On branch main
#
# Initial commit
#
# Changes to be committed:
#       new file:   .tests/integration/run.sh
#       new file:   .tests/integration/toy_config.yaml
#       new file:   .tests/integration/toy_reads/toy_1_1.fq
#       new file:   .tests/integration/toy_reads/toy_1_2.fq
#       new file:   .tests/integration/toy_reads/toy_2_1.fq
#       new file:   .tests/integration/toy_reads/toy_2_2.fq
#       new file:   config/yeast_config.yaml
#       new file:   images/rulegraph.svg
#       new file:   tests
#       new file:   workflow/Snakefile
#       new file:   workflow/envs/assembly_conda_env.yaml
#
# Untracked files:
#       .snakemake/
#       Snakefile2
#       concatenate/
#       cutadapt/
#       first5.fa
As the message says, you are invited to enter a commit message. In this case it’s reasonable to just type something like:
initial commitThe lines starting with ‘#’ just serve to remind you what you are
committing. If you see these lines and decide you don’t want to commit
after all, you can exit the editor without saving to abort the commit.
Back at the command line you may add more files with
git add ..., or you may start the selection again with
git reset.
Once you are happy, type your commit message at the top of the file
and save it. If you are in the nano editor,
Ctrl+X, then y, then [Enter] will
do this and get you back to the terminal. You should see:
OUTPUT
[main (root-commit) de0037f] initial commit
 11 files changed, 2167 insertions(+)
 create mode 100755 .tests/integration/run.sh
 create mode 100644 .tests/integration/toy_config.yaml
 create mode 100644 .tests/integration/toy_reads/toy_1_1.fq
 create mode 100644 .tests/integration/toy_reads/toy_1_2.fq
 create mode 100644 .tests/integration/toy_reads/toy_2_1.fq
 create mode 100644 .tests/integration/toy_reads/toy_2_2.fq
 create mode 100644 config/yeast_config.yaml
 create mode 100644 images/rulegraph.svg
 create mode 120000 tests
 create mode 100644 workflow/Snakefile
 create mode 100644 workflow/envs/assembly_conda_env.yaml
Pushing to GitHub
Sending new code to GitHub is normally a matter of running one command.
If you run this just now, you will see an error.
OUTPUT
fatal: No configured push destination.
Either specify the URL from the command-line or configure a remote repository using

    git remote add <name> <url>

and then push using the remote name

    git push <name>
Before we configure the remote repository, we have to add a SSH key credential to GitHub. This is a secure way to tell GitHub that we do have permission to push code from this login account.
$ cat ~/.ssh/id_rsa.pubIf this shows a long line of characters then you already have a key and can use that. If not, you need to create one.
$ ssh-keygen -t rsaPress enter three times to accept the default options, and now you
should have a ~/.ssh/id_rsa.pub file. This goes into GitHub
under your SSH and GPG
keys page which is under the account settings area.
- Select Add new SSH Key
- For the title, use the format
user@hostnamefor where you made the key, eg.training@vm-07 - Set the type as Authentication Key
- Paste the whole contents of your
~/.ssh/id_rsa.pubfile into the big box
Now we make a repository for our code. This also needs to be done on the web interface.
- Use the New Repository option from the GitHub main page.
- Give the name yeast_demo_assembly
- Give a description like Demo workflow for training course
- Ensure this repository is Public
- Do not add any further items, just click Create repository
And after this you should see instructions to “push an existing
repository from the command line”. This is exactly what we need to do,
but the instructions shown by GitHub (at the time of writing) do not
account for us having the push.autoSetupRemote setting.
Therefore use the commands below, but remembering to fill in your own
GitHub username.
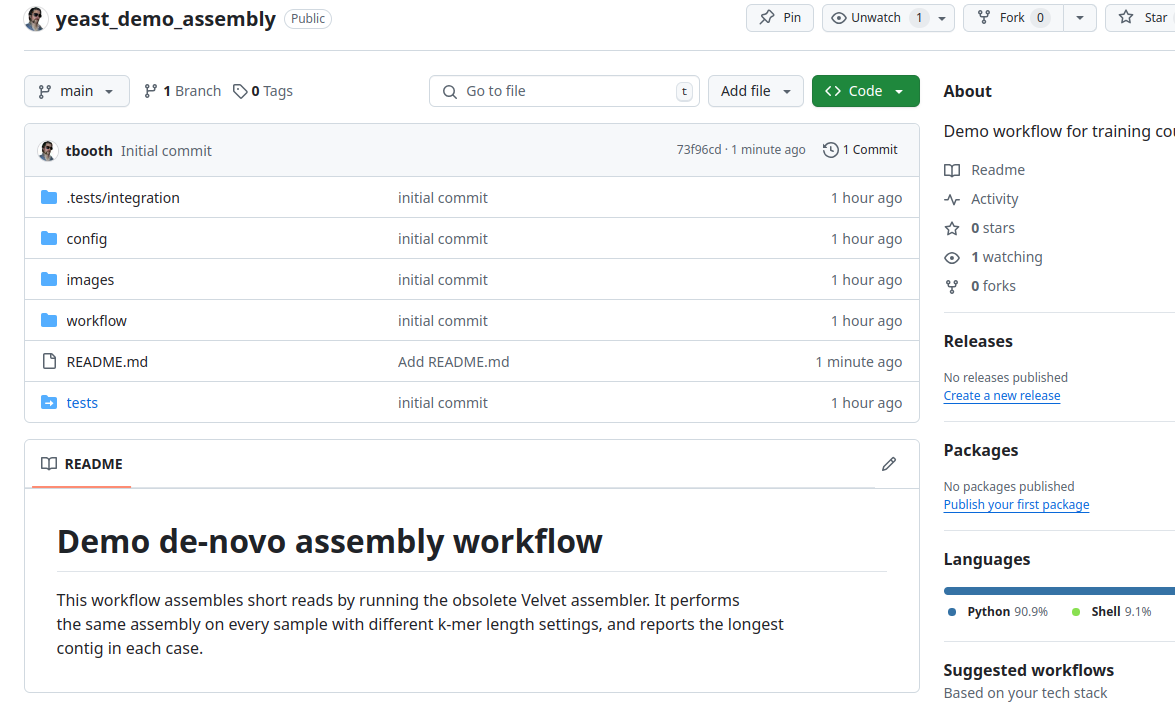
And we are done. The code is public in GitHub. In the web browser, navigate to the new repository and view your files.
GitHub dangers
Many people worry about sharing their un-finished code in a public repository, or relying on the GitHub service. In practise, there is not much to fear, but there is one significant risk:
Avoid leaking passwords, authentication tokens, and private data into Git. If you ever add such an item to a commit then removing it from the Git history is nearly impossible. Git is designed to never forget! Having good habits about separating your code, configuration and data is the best way to avoid this. For example, if your workflow needs to retrieve data from a server with a user name and password, either pre-fetch the data or, if you must automate acess, then at least put the password into a configuration file outside of the workflow source directory.
You may also worry that data on GitHub might be corrupted or lost, but this is less of a worry. The chain of commits on Git is cryptographically signed, so it’s unlikely that code can ever be tampered with. Also, moving code to another Git hosting service, along with the full commit history, is very easy. If you start out using GitHub you can move to an alternative host at any time.
Finally, having your code up on a public repository does allow others to copy from it, but if anyone tries to pass off your the code as their own you have very strong evidence of ownership.